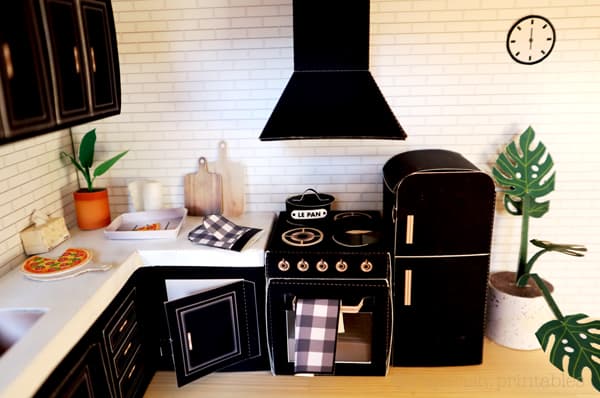
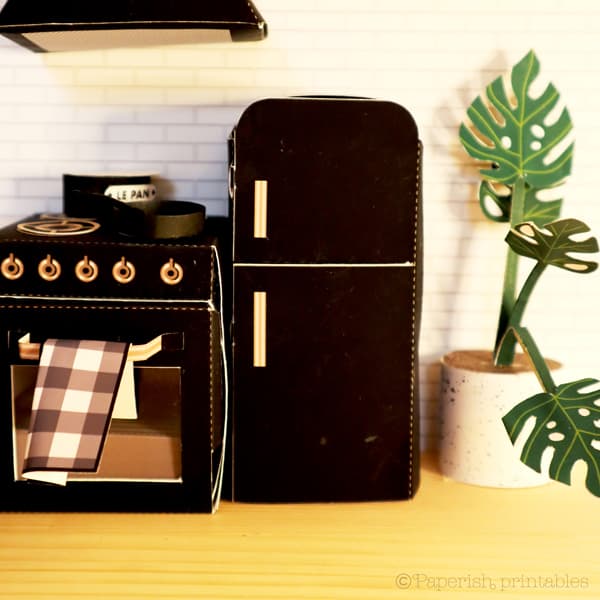
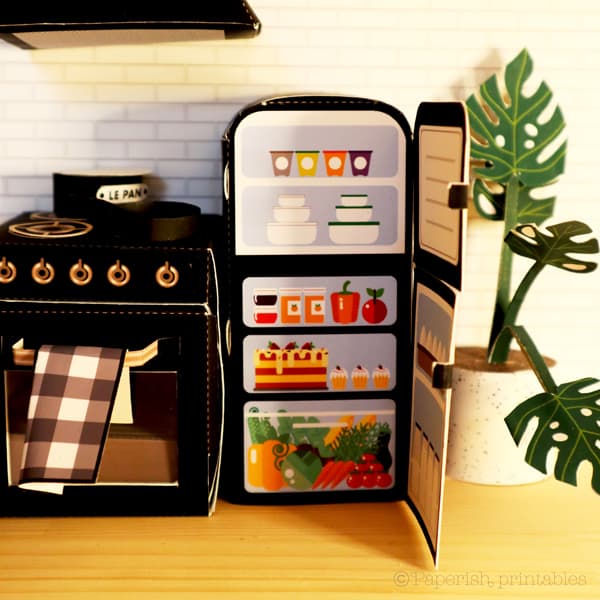
When I kept seeing black kitchens in images everywhere (in the real size I mean) and I could no longer resist to try making my miniatures in black, the first item I thought about was the miniature fridge.
I love the look of vintage fridges in pastel tones like pale pink and powder blue especially in miniatures, but black…??
Wouldn’t it look heavy, bulky and overall dark?
What would be the best, should I try the glossy look or matt?
I wasn’t quite sure of what to expect, given that it’s paper I am trying to make the miniature fridge with.

If you don’t want to use lots of ink to print, one idea is to use the white fridge miniature printables I shared before as a template (click here for the free white printable) and cut out a black sheet of paper with the template.
It would be a lot of fun to use any patterned paper of your choice to create a miniature fridge that is unique to you.
Just make sure that the paper is firm enough to hold!

In this dollhouse miniatures creation I have used strong paper glue which worked fine.
I have since started using Mod Podge, and I must say, Mod Podge works better on firm paper than anything else so far.
The trick is to apply it just enough and not too much.
And stick the surfaces quickly before Mod Podge dries out.
Unlike sticky paper glue, once Mod Podge dries out it creates uneven surfaces which make it a bit tricky to glue neatly afterwards.

– 1/12th scale printable template of a dollhouse refridgerator in black
– 1 PDF file
– Standard Canon inkjet printer TS9160
– Canon Matte photo paper MP-101, 170g/m2
– Strong stick paper glue (I recommend Mod Podge is you have some!)
– Ruler
– Paper knife cutter
– Scissors
Please note: there is no bottom side to the fridge. This is intended to make it easier to put the template together. It also helps the piece to stand straight.
1. Print and cut out the template.
If you don’t have a printer at home, check with your local library, OfficeDepot, OfficeMax, Kinko’s, FedEx office or anywhere similar if they can print the PDF file/s for you.
The best outcome would be to print in color even with this black and white template as it can bring out the darkest black possible.
If you can’t print in color or if you are concerned about the ink usage, it’s a great option to print the blank template (download here) out in black and white and use it as a template to cut out a black sheet of firm paper.
2. Fold at the dotted lines and glue
3. If you are unsure, watch the tutorial below!
Enjoy!
Please check out our FAQ page for ways to print the templates:
https://paperishprintables.com/faqs-printer-paper-ink-and-glue/
How to reduce or enlarge the printing:
https://paperishprintables.com/how-to-reduce-or-enlarge-printing-printer-settings/
I created some Youtube videos to help you make them:
https://www.youtube.com/channel/UCKHvuCTequ2EPswJoebMcAw
By visiting paperishprintables.com, you are consenting to our Terms and Conditions
This product is strictly for personal use only.
The Site and Service contain intellectual property owned by Paperish Printables t/a Paperish®, including trademarks, copyrights, proprietary information, and other intellectual property.
You may not modify, publish, transmit, participate in the transfer or sale of, create derivative works from, distribute, display, reproduce or perform, or in any way exploit in any format whatsoever any of the Site or Service, Content or intellectual property, in whole or in part, without our prior written consent.
Colour between the screen and printed items may vary.
The projects and printables on this site are intended for adults only.
| Cookie | Duration | Description |
|---|---|---|
| cookielawinfo-checkbox-analytics | 11 months | This cookie is set by GDPR Cookie Consent plugin. The cookie is used to store the user consent for the cookies in the category "Analytics". |
| cookielawinfo-checkbox-functional | 11 months | The cookie is set by GDPR cookie consent to record the user consent for the cookies in the category "Functional". |
| cookielawinfo-checkbox-necessary | 11 months | This cookie is set by GDPR Cookie Consent plugin. The cookies is used to store the user consent for the cookies in the category "Necessary". |
| cookielawinfo-checkbox-others | 11 months | This cookie is set by GDPR Cookie Consent plugin. The cookie is used to store the user consent for the cookies in the category "Other. |
| cookielawinfo-checkbox-performance | 11 months | This cookie is set by GDPR Cookie Consent plugin. The cookie is used to store the user consent for the cookies in the category "Performance". |
| viewed_cookie_policy | 11 months | The cookie is set by the GDPR Cookie Consent plugin and is used to store whether or not user has consented to the use of cookies. It does not store any personal data. |