Want to bring your dollhouse to life with vibrant, realistic greenery without spending a fortune?
Nothing transforms a miniature room quite like a splash of houseplant magic! Whether tucked into a tiny kitchen corner, resting on a miniature bookshelf, or styling a cozy dollhouse living room, DIY mini plants add instant warmth and realism to any small space scene.
In this quick and budget friendly tutorial, you’ll learn how to make 1:12 scale miniature plants using our free printable templates.
Best of all? This easy craft project takes under 30 minutes from print to completion!
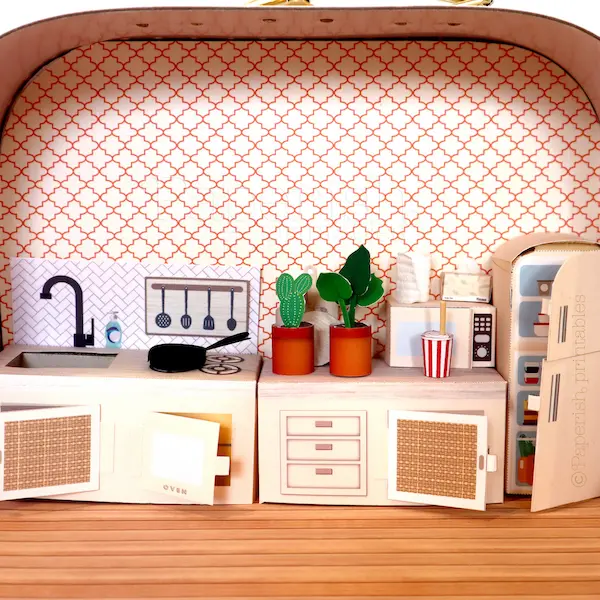
Why You’ll Love This DIY Miniature Plant Craft
100% Free: Includes a downloadable 1:12 scale printable template (featuring designs of gorgeous Elephant Ear plants and lush succulents).
Super Fast & Beginner-Friendly: Zero advanced crafting skills needed—if you can cut and glue, you’re ready!
Easy to Cut: Wide leaf shapes make scissors-only cutting a breeze (or use your Cricut/Silhouette for effortless batching).
Instant Realism: Double-sided (reversible) leaf printing ensures your mini greenery looks stunning from every angle.
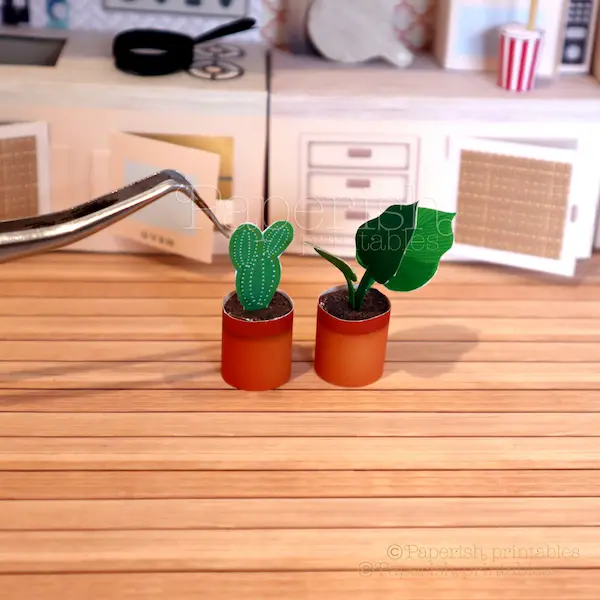
Materials & Supplies Needed
You don’t need specialized tools to create these adorable dollhouse plants.
Here is what you’ll need:
Required Supplies:
- Printer: Standard inkjet printer (or print at your local print shop)
- Paper: Heavyweight paper or matte photo paper (I used Canon High Resolution Paper HR-101N)
- Glue: Strong paper glue stick or craft glue
- Scissors or Precision Craft Knife
- Ruler
- Sticky Tape: A small piece to bundle the leaf stalks together
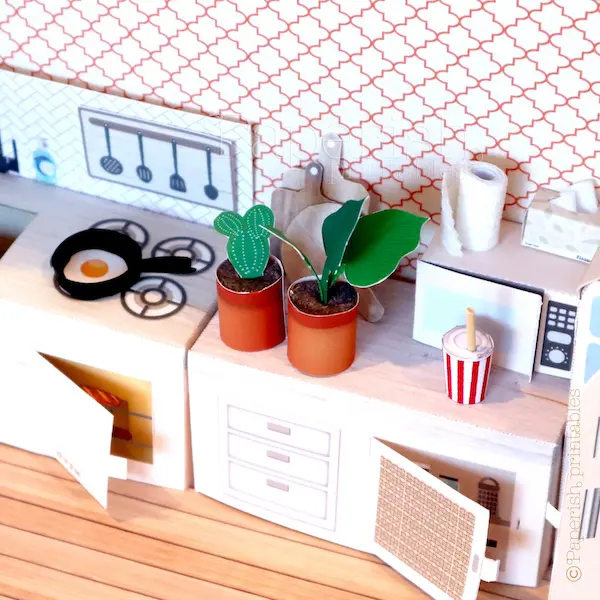
Project Dimensions (1:12 Scale)
Plant Pot Size: ~15 mm (0.59 in) diameter × 17.5 mm (0.69 in) height
Step-by-Step Guide: How to Make DIY Dollhouse Plants
Follow these easy steps to craft your realistic miniature indoor plants:
Step 1: Print & Cut
Print your template on high-resolution paper. Using sharp scissors or a craft knife, carefully cut out the leaf pairs, soil bases, and pot templates.
Step 2: Assemble Reversible Leaves
- Each leaf pattern features matching pairs to create double sided leaves.
- Fold the stalks along the dotted center line.
- Apply glue, tuck the stalk between the matching leaf faces, and press firmly together.
Step 3: Prep the Soil & Pot
- Assemble and glue your paper plant pot.
- Make a tiny slit along the white indicator line on the paper soil disc – this is where your plant stems will slide into place.
Step 4: Bundle & Plant
For Succulents: Simply fold along the center lines, glue the backs together to make them double-sided, fan them out into a rosette shape, and set them inside their pot.
Pro Tip: Gather your finished leaf stalks into a small bundle and wrap a tiny piece of sticky tape around the base. This makes handling and inserting them into the pot significantly easier.
Insert the stem bundle into the soil slit, secure with a dab of glue on the inside, and place the soil assembly neatly inside your pot.
Watch the Video Tutorial
Want to see how it’s done visually? Watch our step-by-step video guide below. (Note: The video demonstrates our large printable plant kit from our store, but the same assembly technique applies to these free mini plants)
Download the printable here:
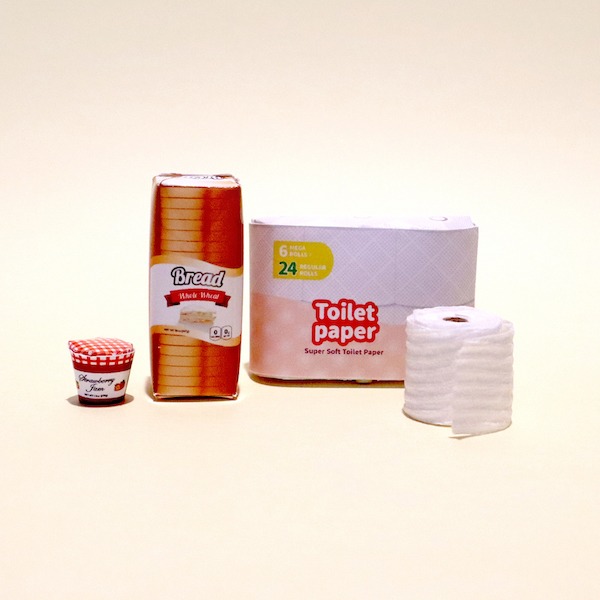
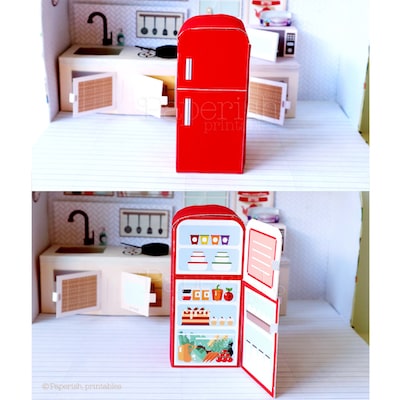
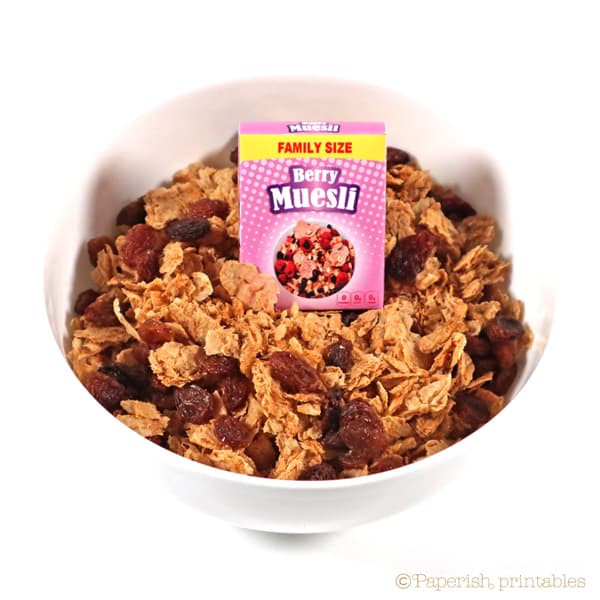
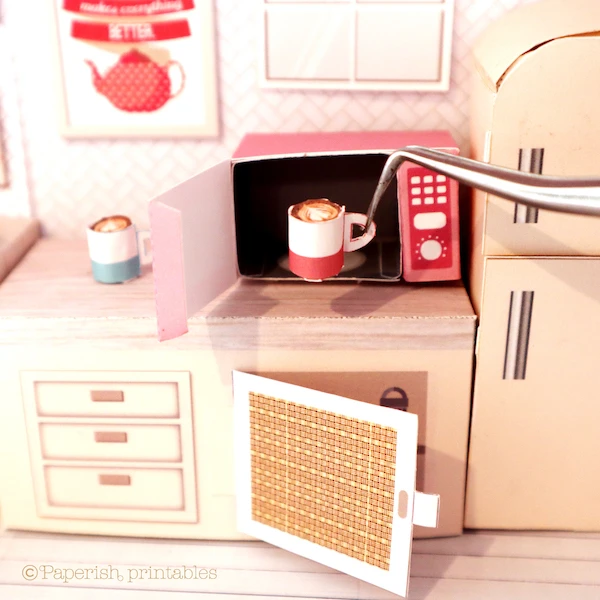
Other miniature pieces from the images
Drink cups in 1/12th scale (also available in 1/6th scale):
💬 Got Questions?
Printing, paper, or glue troubles? → Check our FAQ guide
Need to resize your print? → Learn how to scale your printing
Visual learner? → Watch our step-by-step YouTube tutorials
This product is for personal use only. © 2021 Paperish Printables
By visiting paperishprintables.com, you are consenting to our Terms and Conditions
The projects and printables on this site are intended for adults.